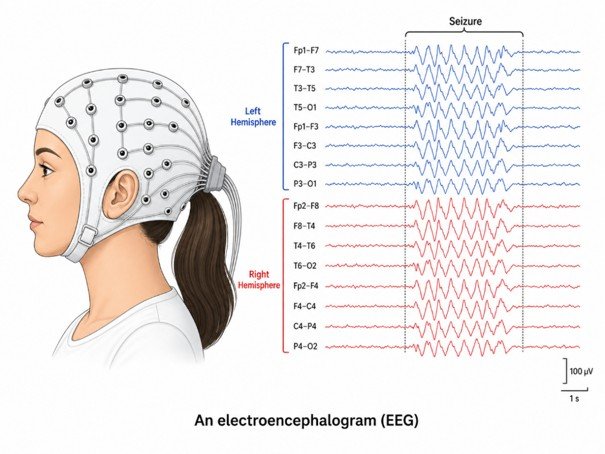
Reference guide for the Neurophysiological Play demo
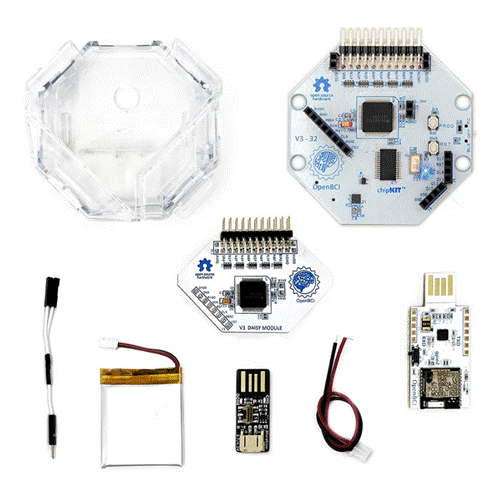
The full kit
If you are looking for a more elaborate guide, I have hosted it on my subdomain https://eeg.hriresearcher.com/ . I start these guides because of how difficult I had it setting up at first, this is a way to help other and help myself too
Note: the small black board is not a second dongle. It is the battery charger. It has a white socket on the end because the battery plugs into it for charging. The kit contains one dongle (the white one) and one charger (the black one).
What each piece is
Clear plastic case
A protective box. The Cyton board, with the Daisy stacked on top, sits inside it so the electronics are protected and nothing touches the pins accidentally.
Cyton board (octagon marked “chipKIT”)
The main piece, the “brain” of the system. It amplifies the tiny signals from the cap and handles channels 1–8. The row of pins along the top edge is where the cap cables plug in: the N1P–N8P pins, plus SRB and BIAS. On its side is the power switch (OFF / PC / BLE), and the two tiny buttons labelled PROG and RST are for programming and resetting, which are not needed for the demo.
Daisy module (marked “V3 Daisy Module”)
An add-on board that stacks on top of the Cyton through its pins and adds 8 more channels (9–16). If only 4–6 electrodes are used, all on the Cyton, the Daisy can stay attached and its channels simply switched off.
Y-splitter cable (the cable that splits in two)
The split end connects the SRB pins of the Cyton and Daisy together, and the single end goes to the cap’s REF location.
LiPo battery (flat silver pack with red and black wires)
A rechargeable battery, like a phone battery. It plugs into the Cyton board to power it.
Battery charger (small black board)
Plug its gold end into a USB port on a computer or USB charger, then connect the battery to its white socket. This is how the battery is recharged.
Red and black cable with a white plug
A power cable for connecting the battery to the board, for example as an extension so the battery can sit outside the case.
USB dongle (white, marked “OpenBCI”)
The wireless receiver. It plugs into the computer and receives the data the Cyton board sends by radio. Its slide switch should be on GPIO6 for normal streaming.
How they all connect
- Charging: battery → charger → computer USB port.
- Recording: battery → Cyton board (with the Daisy stacked on top, inside the case) → cables → cap. The Cyton sends data wirelessly → dongle → computer → OpenBCI GUI.
Before the demo on the 6th
- Charge the battery fully the day before. Charging takes a few hours.
- Never leave the battery charging unattended, and don’t use it if it looks puffy, swollen, or damaged. LiPo batteries can be a fire risk if mistreated.
- The battery goes either on the charger or on the board, not both at once.
- If the lab also has an AA battery holder, bring it as a backup in case the LiPo runs low during the day.